As we last left off Wille, the kitchen was installed and the solar panels arrived after being overdue for weeks. Which basically allows the van to get wired completely and receive the roof as well as the upper cupboards.
The solar system
The solar system is planned with loads of excessive power, at least if you calculate it for one person. Although I have to admit I’m one very power-hungry individual of our species. Cameras, mobile phone, laptop, a drone and loads of USB-gadgets from speakers to vents need to be powered and charged over the solar system. So the size I decided to go for was a system of three 100 watt panels. When mounting them on the roof I had the first problem of fitting them on the roof. I planned to mount them in the middle of the roof, from the roof window to the back of the van. The mountings, however, meant that I could not mount them in this series because they were sideways and would stretch the length of the panels out over the back of the van. Improvising was necessary.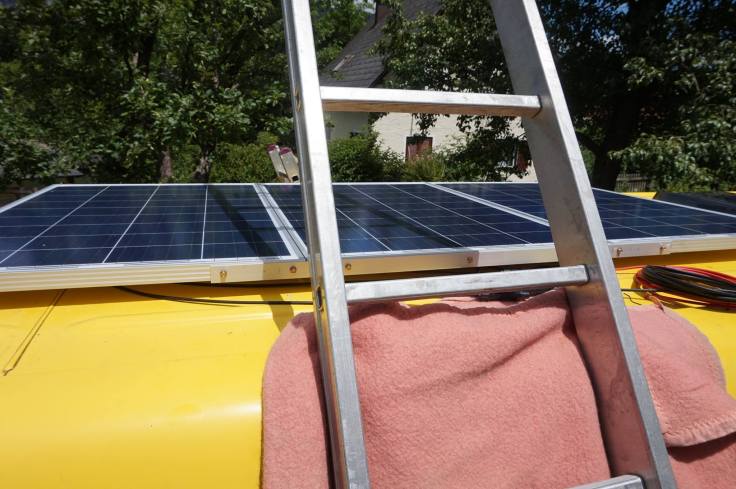
Instead of mounting them separately, I fixed the first and last one. Some aluminum girders, nuts and bolts attached the middle one. The panels are also offset to the left side so the mountings would be on the flat part of the roof.
The cables finally inside the van there was no obstacle preventing the finishing of the electric system and the ceiling. So let’s go inside, shall we?
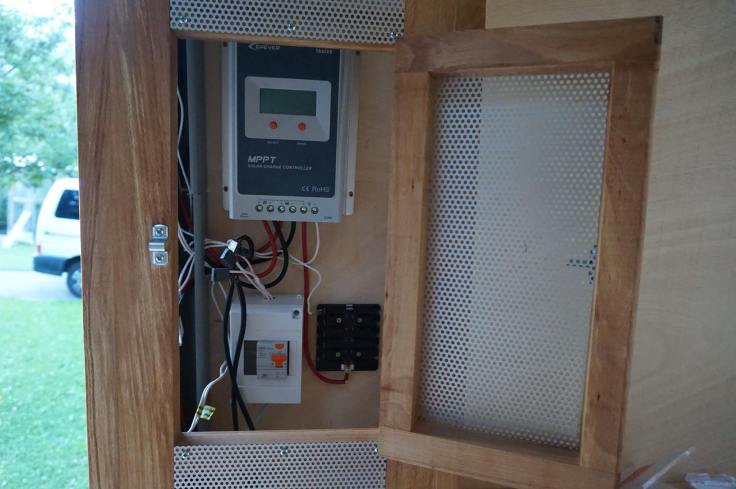
A solid cupboard from leftover Birchwood covered with perforated metal sheets should house most of the electrics. The reason for that is to prevent the equipment from overheating since the amount of electricity and cables will generate quite some heat which could lead to problems, especially when the car itself will get hot in southern countries. Really, captain obvious? Yes, and now go and throw yourself off a cliff.
I got a little help from a dear friend of mine who knows his way around electrics and had an overwatch, so I did not fry myself in the van. Finally seeing the system work had a huge relief on my mind and I was totally up to finish the conversion.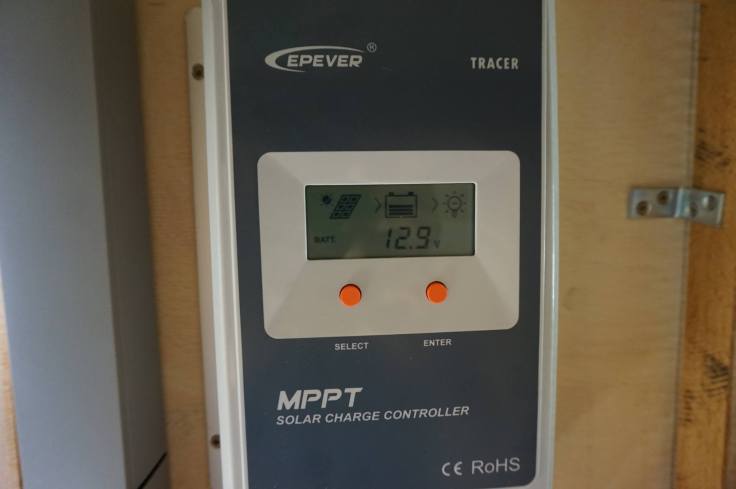
The ceiling
To cover the ceiling I decided to use wooden boards with an interlocking system since flat plates would look too sterile and not quite that charming. I started from both sides so I had to refit a board for the middle, which was not even half as complicated as it sounds. 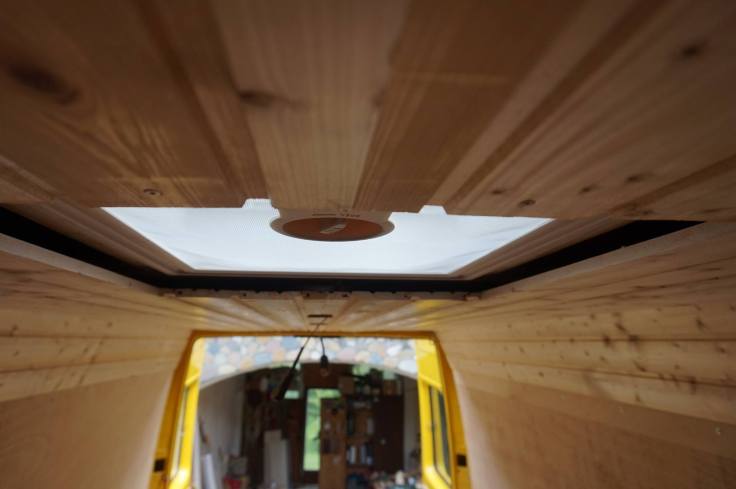
A really charming and welcoming look was the result of that.
Let’s talk about one of my mistakes here since it is time to address it. The lights I bought were 4 watts LED-spots. But not powered through a 12-volt system but a normal 230 v system which directly translates t the lights being bigger and needing more space. So the holes in the roof did not leave enough room for the lights to be mounted. Time to improvise.
Since one cm would do the trick I made the approach to socket them. 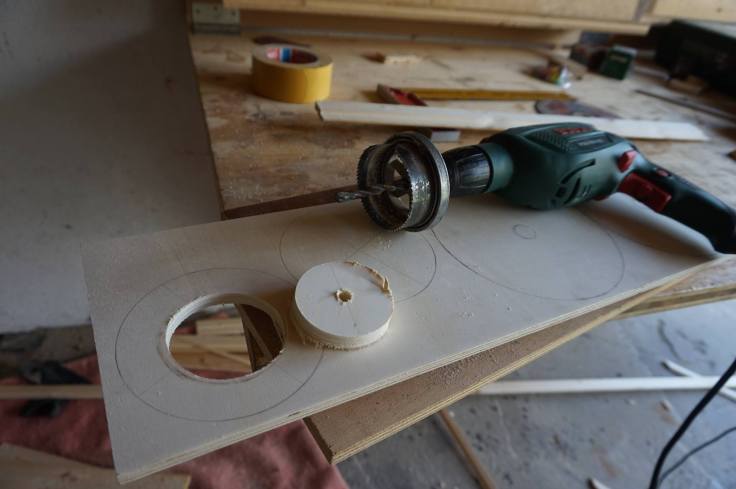
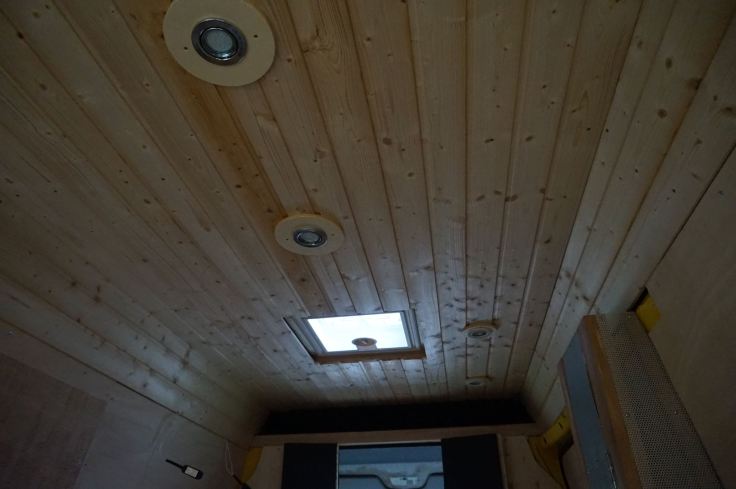
With the custom sockets, the lights fit perfectly and can be moved as intended. Solved the problem since I was not able to return and exchange the lights, I did not want them to go to waste. Just a little tip if you intend to build something similar: go get 12v LED’s – they use far less space.
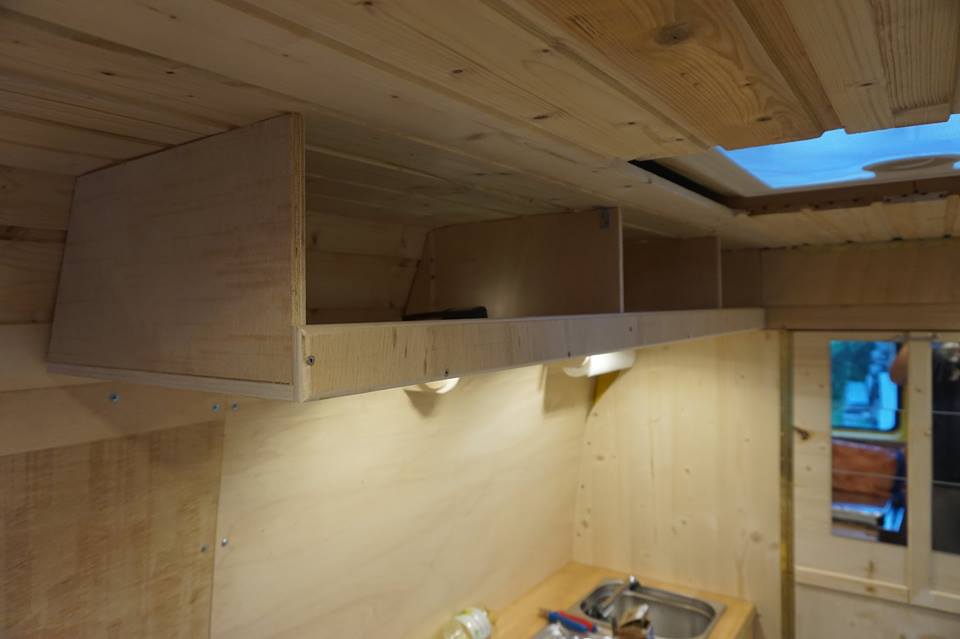
Additional cupboards
Although there is already a huge amount of storage there will be space wasted above the cupboards so the quite natural thought of building storage units is quite a no-brainer.
Simple wooden plates cut to the desired shape and mounted on top of the car – no rocket science there. 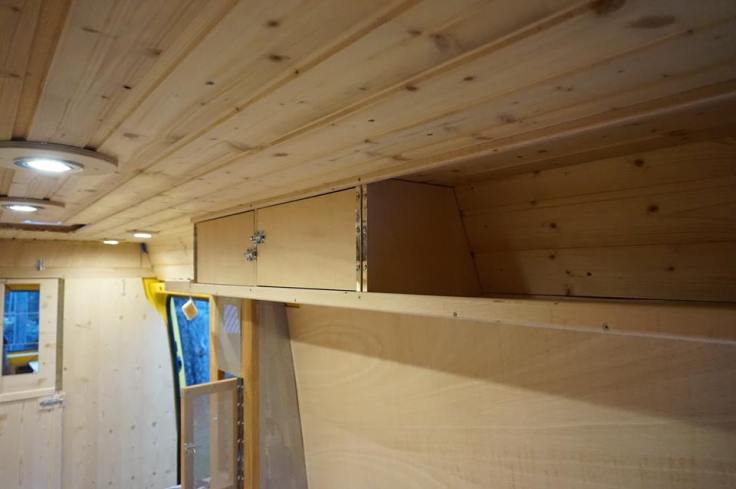
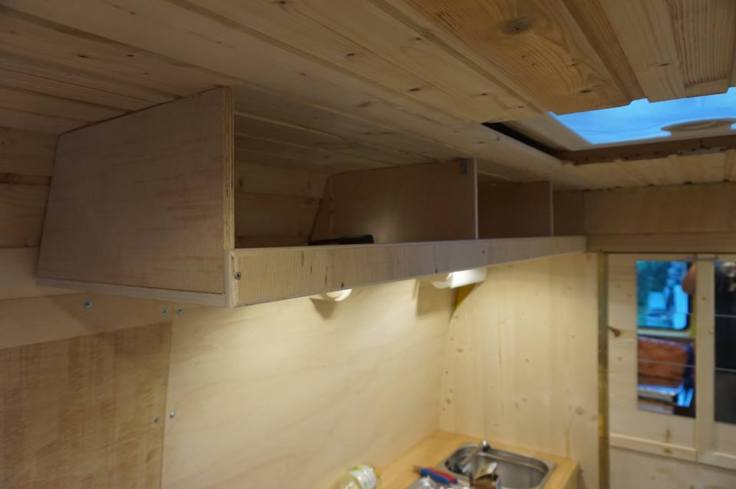
On the front part, i screwed some support to the cupboard to prevent things sliding out of their places. I did that as well on the back but with less height. Turned out to be not quite enough for driving the van. Also, two lockable drawers at the back and a door for the front compartment should make things safer. The front door compartment also has the benefit of blocking a lot of hot air from entering the main area. 
Discovering that the corner of one shelve could possibly lead to serious head-hittings in the future the corner was cut round. Since I was not able to bend the wood in such a form I solved the problem with little sticks which I arranged in a castle-top kind of way. 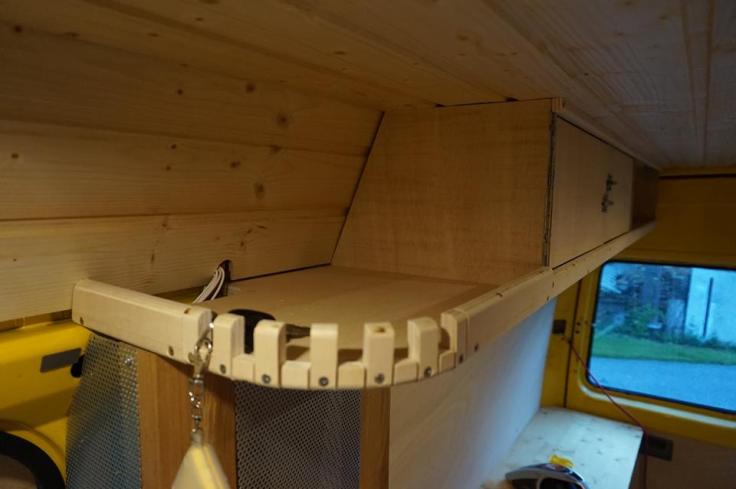
Well, it turned out to be good looking and useful since throwing keys up there will hold them in place and make them visible from each position inside the van. The only problem with the system is getting used to hanging the keys up there instead of throwing them onto a counter.
Only one finishing part to go, a few detaills to mention and we should be basically finished with the conversion series next time.
TBC…

Leave a comment