As we last left off the van conversion we had already started to build it up after stripping it down. I installed the lower part of the side panels out of 13mm plywood to get some structural integrity on the inside. This will help with simply screwing things to the sides as we go along with our work.
Since I want to be as self-sufficient as possible, the plan is to go with a solar system and loads of electrics within the car. I made a basic layout of where the lights, switches and power plugs will be and started to wire the whole thing. At this point, I did not have exact measurements, so I added the “fear-meter” to all the cables. Basically leaving all of them far too long because cutting them when installing the plugs will work just fine.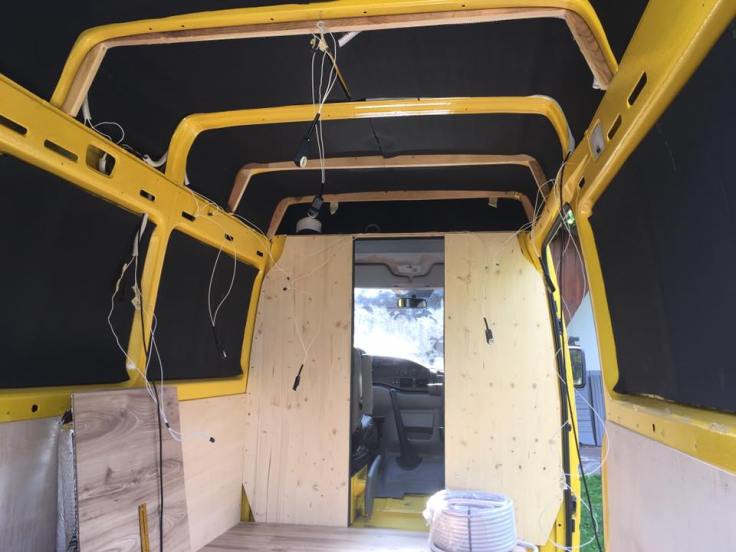
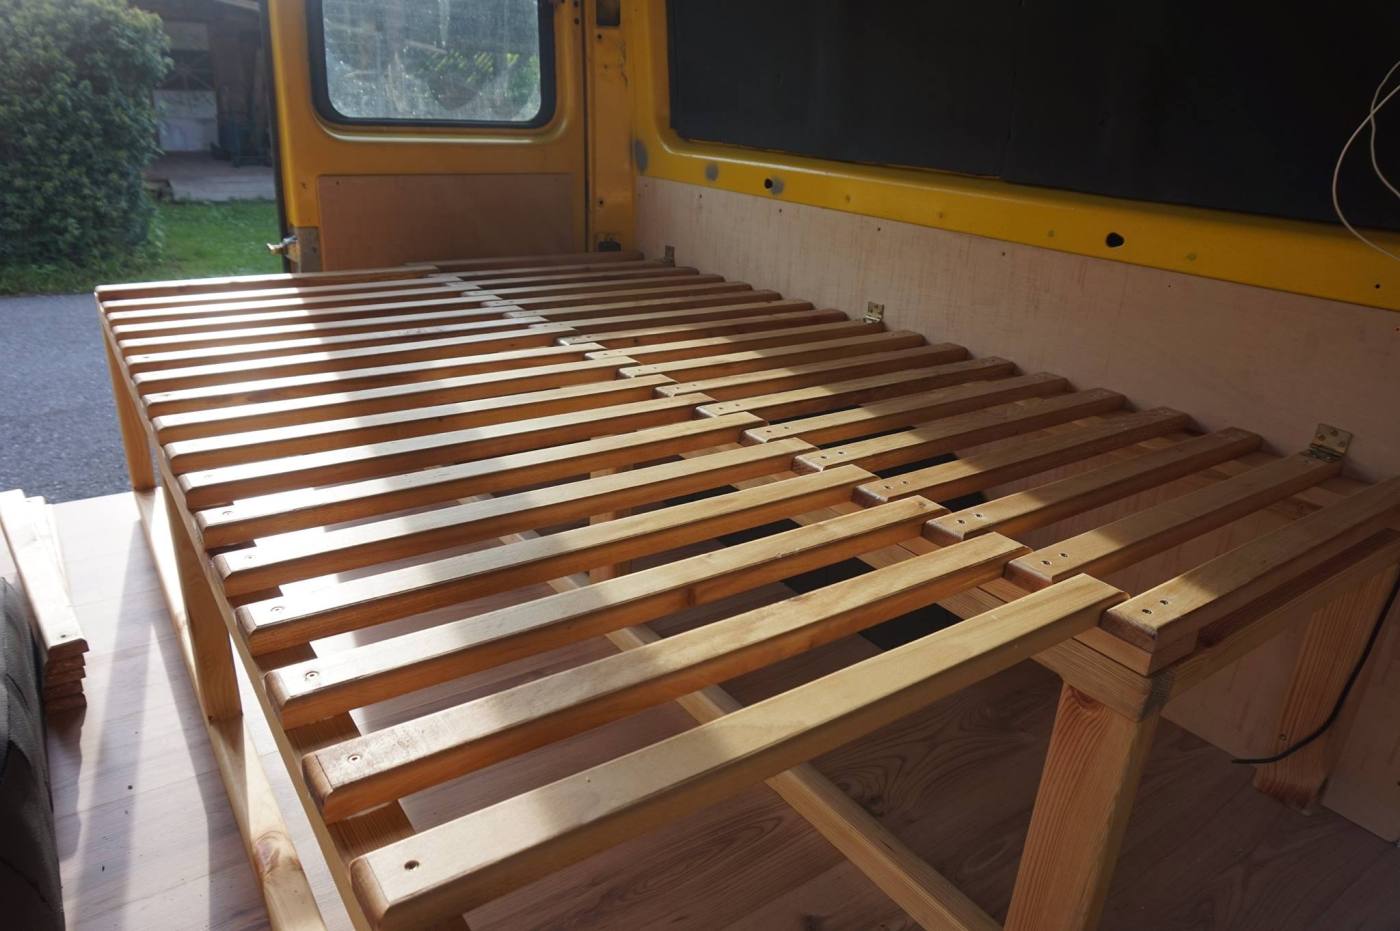
With this work done I started working my way up the basics. Well, one thing is guaranteed: I needed a bed. A bed, which is able to provide a reasonably comfortable space for up to two persons. I do plan to travel solo but as mentioned in the first blog: I want to be able to take some friends out for road trip adventures as well. So I figured 65 cm per person should be sufficient enough since beds in alpine huts are sometimes as small as 60 cm and at least for me this is enough to wake up and do stuff the next day.
The couch/bed:
Since there will be a lot of weight on the bed and I want it to be a couch during the day, tough kind of wood was necessary. Birchwood was for free, old and dry which was perfect for the frame and ribs of the bed. So I went to work – from raw, old wooden boards to a frame with ribs. 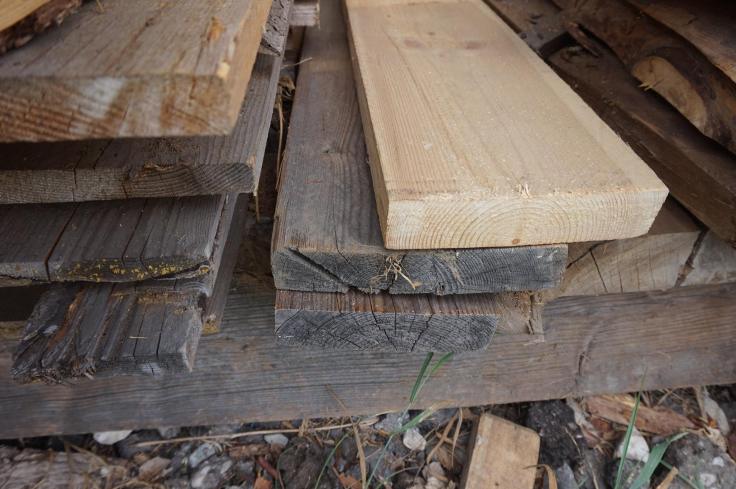
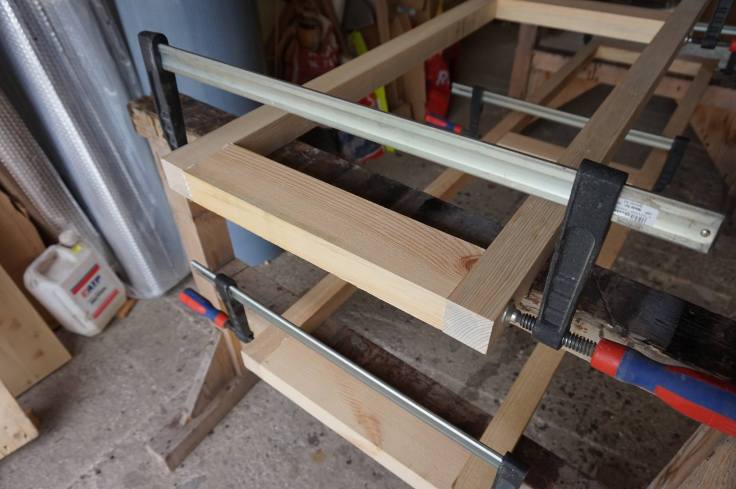
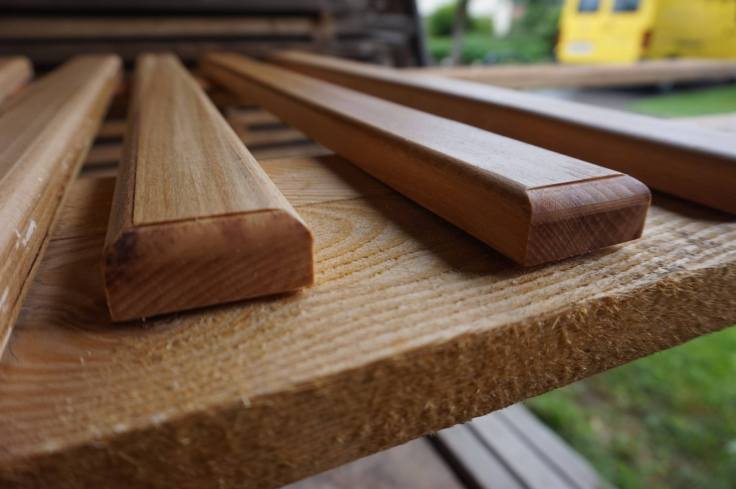
I wanted to mount the frame to the side of the van, so there is space to walk free from front to back. Between the couch and a cupboard unit. When extended, the bed should take up all the space up to the cupboards. I fixed some ribs in an interlocking order, so they are almost a solid plate when retracted. 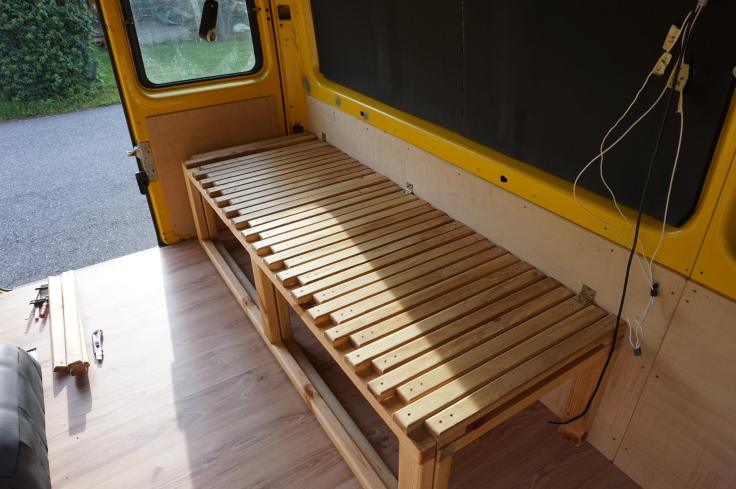
The front frame has 2 separate frames, the first one mounted on tiny wheels so it can be extended to the full bed size. 
Due to the frames it isnt really possible to shove storage units under the bed that easy but I didnt wanted the space to go to waste so I figured that the ribs of the bed should be able to oupen up when the frame on wheels gets laid to the side. The result was entirely convincing:
This means I have loads of storage already, which will be hard to access but used to store things I should not need on daily bases. At least that was the idea at first.
Well, the bed frame was working to a certain degree but when extended it still needed some stability so it would not overextend, which would directly translate to a very rude awakening. Time for the storage unit on the opposite site.
The Storage unit:
Made out of spruce plates, bought from the hardware shop in sufficient strengh to be able to hold some weight, but still spruce so very lightweight itself i started the basic shelve. At this time i already has dome measurements for inststance of my huge solar battery with 280 amperehours as well as my tiny washing machine. 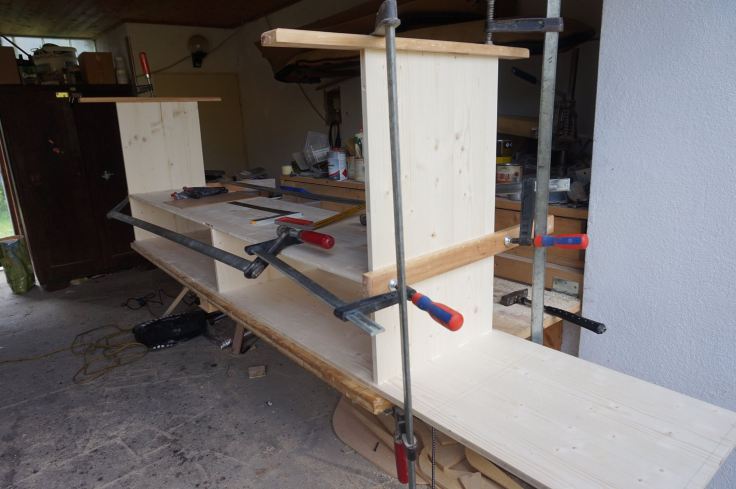
Taking everything into account i started the shelve as well as the socket for the battery. Since the battery has about 60 to 65kg itself I needet it to be safe in place. If this thing starts moving during an emergency break or even a car crash well, a phrase comes to my mind: When the s**t hits the fan.
The battery fixed in the socket and groundet with a tension belt there is no way that the battery will start flying. Time to fix the cupboard unit to the side. As a little sidenote or hint: the middle shelve is exactly on the height of the extending bedframe so the shelve will keep the bed in place. 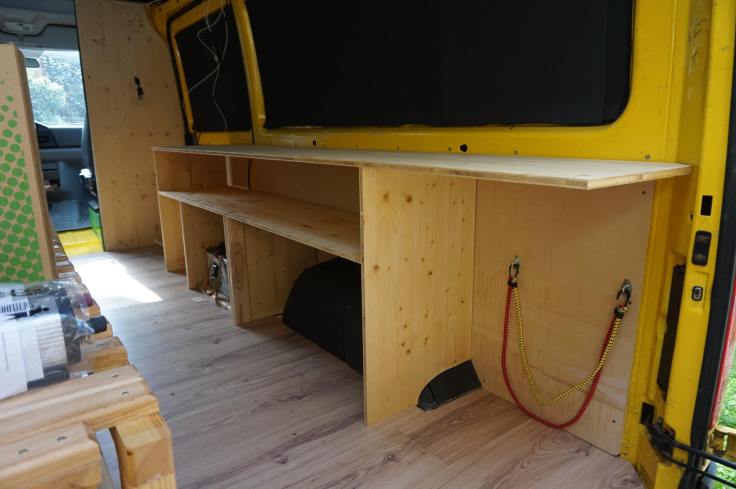
Mounting some doors on the shelve the only thing to concider is a flat surface since i will be walking up and down very often and i dont want to habg with clothes or else. 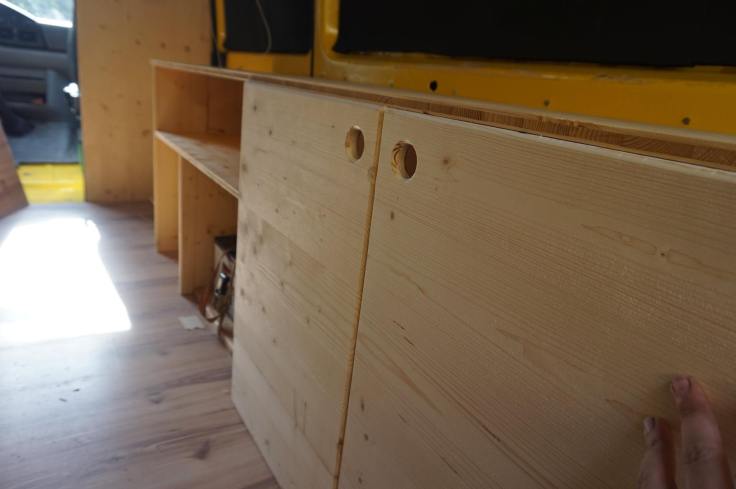
I used the same spruce plates for the doors so nothing looks out of place when finished.
Overall it took me quite some time to finish those two steps but the result makes up for the time. At this stage, entering the car was a great feeling and just sitting on the bedframe or floor and looking at the results are truly inspiring and ideas whar and where to build next are floating naturally in every persons brain who dit this with me. Ah, i see, and there you can do this and that and wouldnt it be nice to ….. and so on od so on. I absolutely love that kind of thinking, how about you?
TBC.

Leave a comment